Easy 1099 E-File with QuickBooks Online
 Before we embark on the Grand Tour of the Chart of Accounts, a timely topic came to our attention. This month, of course, is January, the month when you must get those 1099-MISC forms out to all your non-employee contractors. It’s easy to forget, until you have to deal with it each year, just what a time consuming job this can be! We field tested a great short cut that we want to share with all of you QuickBooks Online users.
If you need a quick overview of Form 1099-MISC requirements, please see our post 1099-MISC in a Nutshell. This post also provides specific strategies on how to minimize your work related to 1099s, regardless of what accounting software you use.
The QuickBooks Online shortcut is the ability to e-file your 1099-MISC forms directly from QuickBooks Online using Intuit’s E-file service. The fee is a tad expensive if you only have one or two forms to file, but we still find it attractive due to the time savings.
What are your alternatives? E-file using another online e-filing service where you will need to import or type in your information, or print and mail physical forms. Either of these options can be very time consuming!
Before You Prepare 1099s
Before you prepare 1099s, regardless of the method you use, you can run a handy report in QuickBooks Online to see a summary of amounts paid to vendors in 2017. Skim down the list to see which vendors were paid $600 or more. For vendors who need a 1099, make sure their vendor record in QuickBooks has the correct address and tax ID and that the box is checked to indicate they are subject to 1099 reporting .
- In QBO click Reports > All Reports > Review Expenses and Purchases > Expenses by Vendor Summary.
- Click the drop down box for Report period and select Last Year.
- Click the radio button for Cash (as opposed to Accrual)
- Click Run Report.
Be sure to also check your fixed asset accounts for 1099 vendor payments if you have capitalized payments to contractors for things such as leasehold improvements or a building addition.
1099-MISC Process
To start the 1099-MISC process, within QuickBooks Online click Expenses in the left side menu, then click Vendors at the top. Then click the button Prepare 1099s at the top right. At the next screen click the green button Continue your 1099s.
In the next step you need to tell QuickBooks which accounts contain contractor payments and in which 1099-MISC box to report them. (See our earlier post 1099-MISC in a Nutshell for more explanation.)
Most contractor payments for services are reported in Box 7 of Form 1099-MISC. Click to check the box next to Box 7:Nonemployee Compensation and click the drop down box to see a list of accounts. Click to put a check mark next to any account that contains contractor payments for outsourced services, legal services or physician services. Typical accounts to check off include accounts called Outside Services, Professional Fees and Repairs & Maintenance.
If you pay rent to a non-incorporated landlord, also be sure to associate your Rent account with 1099-MISC Box 1.
After you’ve linked your accounts to the 1099 boxes, on the next screen you will see a listing of contractors with address, tax ID and email. Don’t worry about editing vendors at this point because you don’t know who will show up in the 1099-MISC report yet.
Continue to the next screen where you will see a report of contractors to whom you have paid $600 or more, enough to require sending Form 1099-MISC. You can click the button Print Information Sheet at the top right of the table to print a copy of this report.
Note the filter icon at the top left over the contractor names. If you click the Filter icon, you will see options to filter by tax year. You can also filter by 1099 contractors that meet the filing threshold of $600, those who do not meet the filing threshold, or those who are not marked for 1099. That way you can search for errors to make sure everyone who should receive a 1099 is included on this list.
Review the list of 1099 vendors and amounts to make sure these are the 1099-MISC forms you want to file. Make sure each vendor’s name, address, tax ID and email is set up correctly in the vendor record. You can click Back to go back to the list of contractors where you can select vendors as needed for editing. Return to this screen and click Finish preparing 1099s when you are ready to complete filing.
Now you have two basic choices:
- Use Intuit’s 1099 E-file service
- Don’t use Intuit’s 1099 E-file service
If you don’t use Intuit’s E-file service, you can always use another e-file service where you will need to get your data entered into that system. Or you can print and mail forms the old fashioned way. (Please don’t print hard copy forms. It’s very time consuming and difficult to get the type to line up in the little boxes!) Even if you have only one 1099 to file, it still may be worth your time to file through Intuit.
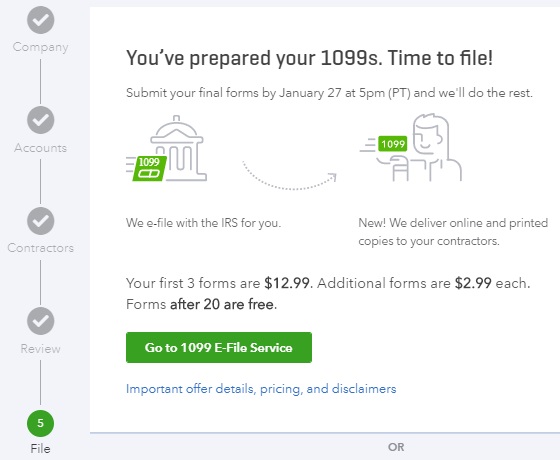
Enter Intuit’s E-File Service
If you wish to use Intuit’s e-file service, click the button Go to 1099 E-File Service. QuickBooks will open a new browser tab where you will now begin working in Intuit’s 1099 E-File Center which is housed within Intuit Online Payroll.
In the 1099 E-file Center you once again have the opportunity to review your information. Follow the steps that lead you through paying for the service and selecting your option for delivery to your 1099 recipients. Don’t worry if you have to close out of the process; the software will pick up where you left off.
At the Choose Delivery Option window, there is a link at the bottom to “Download a copy of each 1099 for your records.” We recommend saving a pdf of the contractors’ copies of Form 1099-MISC for your records and in case someone asks you for a copy.
If you need to fix your company information, click “Back to Home” at the top left of the screen. You will see the screen below.
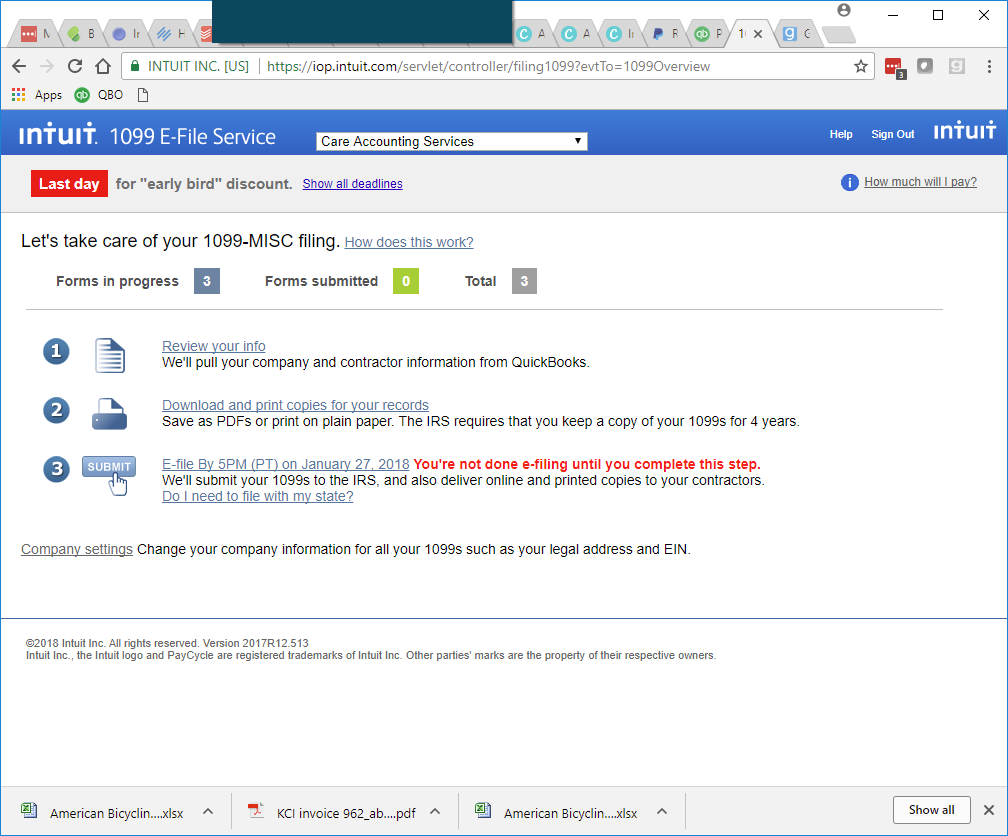
At the bottom click Company settings where you can edit your company information. The 1099 forms are pulling your company information from Intuit Online Payroll, which pulled info from QuickBooks Online or from data you entered earlier in this process. If there is a mistake in the company info on Form 1099-MISC, you need to fix it here within Intuit Online Payroll. After editing your company information, click one of the three options above to go back to the filing steps where you were working before.
When you are ready, from the File and deliver screen, click Submit. You will receive a confirmation of your e-filing. Intuit will e-file the 1099-MISC forms with the IRS and will mail a hard copy of Form 1099-MISC to your contractors. Your contractors will also have the option of accessing their 1099s online if you selected that option.
Congratulations — you are done with your 1099-MISC filing for 2017!
If you run across an additional 1099 vendor after you’ve already e-filed, no worries. Just repeat the process for the one vendor. You have the option to send a 1099 to one or more additional vendors using this same process.
Review our post, 1099-MISC in a Nutshell, and put your 1099 strategy in place for 2018. With a system in place to manage 1099 vendors during the year and Intuit’s 1099 E-file Service, compliance with 1099-MISC filing has never been easier!